Top Survival Skills Every Beginner Should Learn
Learn them in the order they can kill you. Stop and think before you move, then retrace only if it is safe. Get shelter and stay dry, because being wet and cold is the fastest problem you will face. Make water safe to drink. Build a fire and put it out properly. Signal so somebody can find you. Navigate well enough to know where you already are. And know how to stop bleeding that will not stop on its own. Food comes last, and that surprises most people. Seven skills, none of which take a course to start practicing, and every one of them cheaper to learn on a Saturday than in an emergency.
Most people learn survival backwards. They buy a knife first, then a firestarter, then a stack of freeze-dried food, and somewhere around year two they realize they have never actually spent a night out in the rain on purpose. The gear is not the problem. The order is.
There is a useful sanity check for that order buried in the FAA's own survival curriculum. In its Basic Survival Skills for Aviation manual, the Civil Aerospace Medical Institute sets survival priorities by how long a person can go without each one, using the mnemonic it calls the Rule of Three's:
Priorities as published in the FAA's Basic Survival Skills for Aviation manual, under the name the Rule of Three's. Our own advice: treat the ordering as the takeaway rather than the timers, since the numbers are a memory aid and not a physiological deadline. Note that the FAA's version includes rest, which most versions of this list quietly drop.
Read the ordering and the shopping list reorganizes itself. Shelter and staying dry sit near the top. Rest is on the list at all, which almost nobody expects, and it is the one item you handle by not burning yourself out rather than by buying anything. Food, the thing beginners stockpile first, is dead last. The seven skills below broadly follow that logic, with one deliberate exception noted when we get to it, and each one has a small, cheap piece of gear attached that makes the skill work.
Skill One
Stop Moving Before You Do Anything Else
The first skill is not a skill you perform with your hands. When something goes wrong outdoors, the instinct is to keep walking and solve it. That instinct is usually what turns a small problem into a large one.
The National Park Service lays out a specific order in its Outdoor Emergency Plan, and it is worth getting right, because it is not simply never move. Step one is to stop and breathe, work out your location from your map, compass, GPS, or visible landmarks, and retrace your steps if it is safe to do so. Step two applies only if you cannot retrace them: call 911, then stay put, because changing location makes it difficult for authorities to find you, and move only if there is an immediate threat to your life. Step three is to wait for help, find shelter, and conserve your resources.
The distinction matters. Walking calmly back along a route you actually remember is good. Pushing forward to see what is over the next rise is what turns a circle searchers can walk into a region they have to grid, because they start from your last known position and work outward.
The FAA's manual gives that first pause a name worth borrowing on foot. S.T.O.P. stands for sit, think, observe, plan. The manual says to take a few moments to sit and collect your thoughts. Drink some water. Think the problem through instead of reacting to it. Observe what you actually have, injuries included, and inventory the pack. Then make a plan. That is it. A few minutes of deliberate stillness is the highest-return thing you will do all day, and it is free.
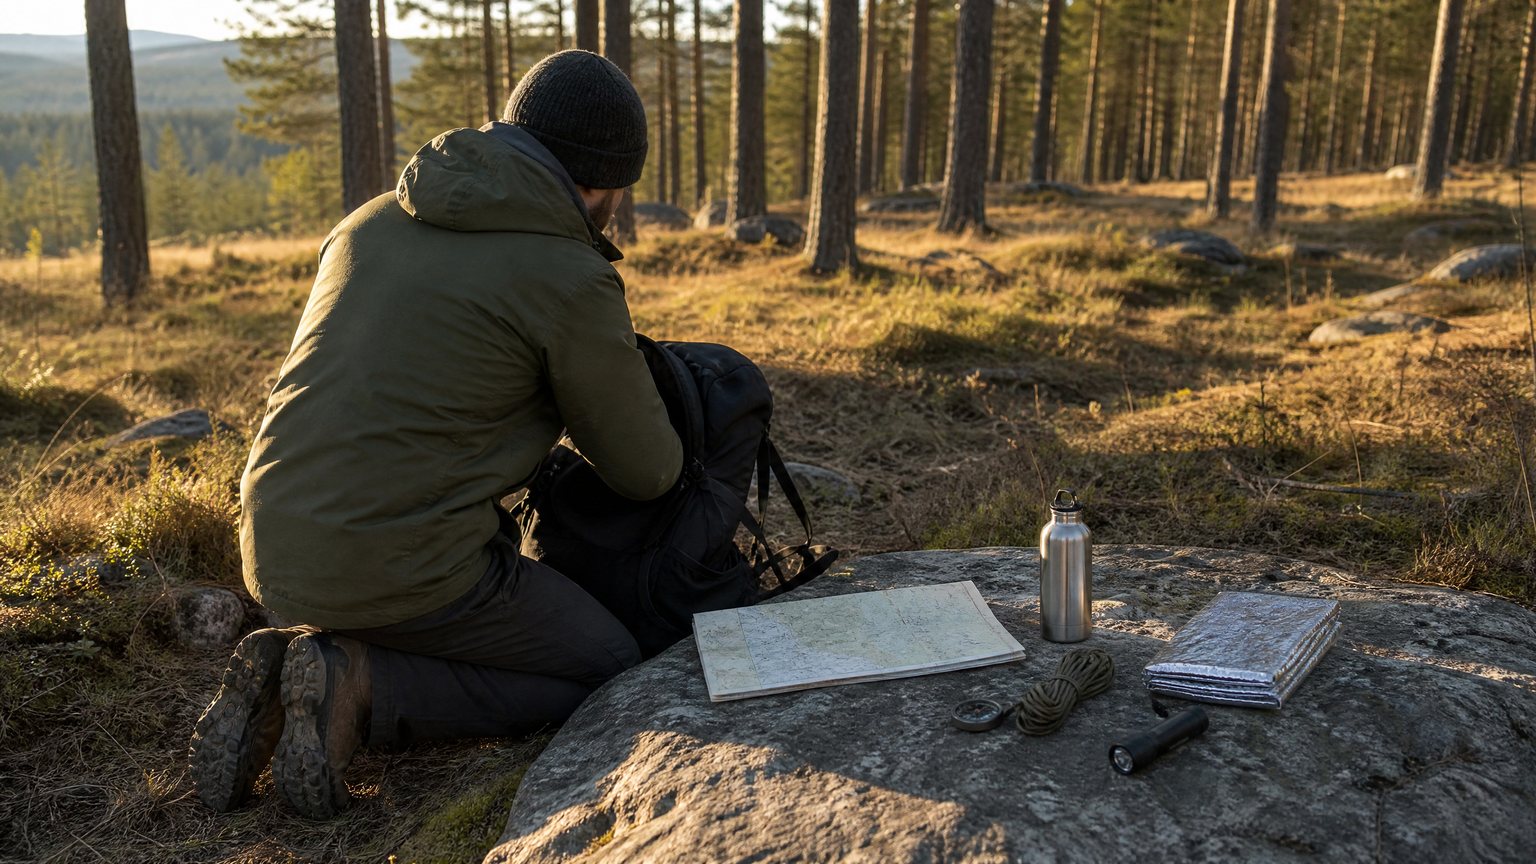
The gear attached to this skill is a pencil and a scrap of paper. Write down what you know, what you have, and what you are going to do next. Panic is bad at holding three things in mind at once. Paper is excellent at it.
Skill Two
Shelter, and the Discipline of Staying Dry
This is the skill beginners underrate the most, and it is the one most likely to actually hurt them. You do not need arctic temperatures to get into trouble. The CDC notes that while hypothermia is most likely at very cold temperatures, it can happen at cool temperatures above 40 degrees Fahrenheit if a person becomes chilled by rain, sweat, or submersion in cold water. A wet 45-degree afternoon with a breeze is a genuine hazard, and it does not look like one.
What makes hypothermia different from most outdoor problems is that it attacks the part of you that would otherwise solve it. The CDC's description is worth reading twice: a body temperature that is too low affects the brain, making the victim unable to think clearly or move well, which is exactly why a person may not know it is happening and will not be able to do anything about it. You do not feel yourself getting stupid. That is the whole danger.
Learn the warning signs by heart, because you will most likely be spotting them in somebody else. The CDC lists shivering, exhaustion, confusion, fumbling hands, memory loss, slurred speech, and drowsiness. If someone's temperature is below 95 degrees, that is a medical emergency and they need help immediately.
Recognition is only half of it, so know what to actually do. The CDC's treatment steps for someone with hypothermia or frostbite are to seek medical attention as soon as possible, get them into a warm room or shelter, remove any wet clothing, and warm them under dry layers of blankets and clothing. If frostbite is involved, the CDC warns against using a fireplace, heat lamp, radiator, or stove for warming, and against rubbing or massaging the affected areas.
Feet deserve their own paragraph. OSHA, citing CDC and NIOSH figures, notes that trench foot can occur in temperatures as high as 60 degrees Fahrenheit if feet stay constantly wet, because wet feet lose heat roughly 25 times faster than dry feet. Spare socks are not a comfort item. They are thermal equipment.
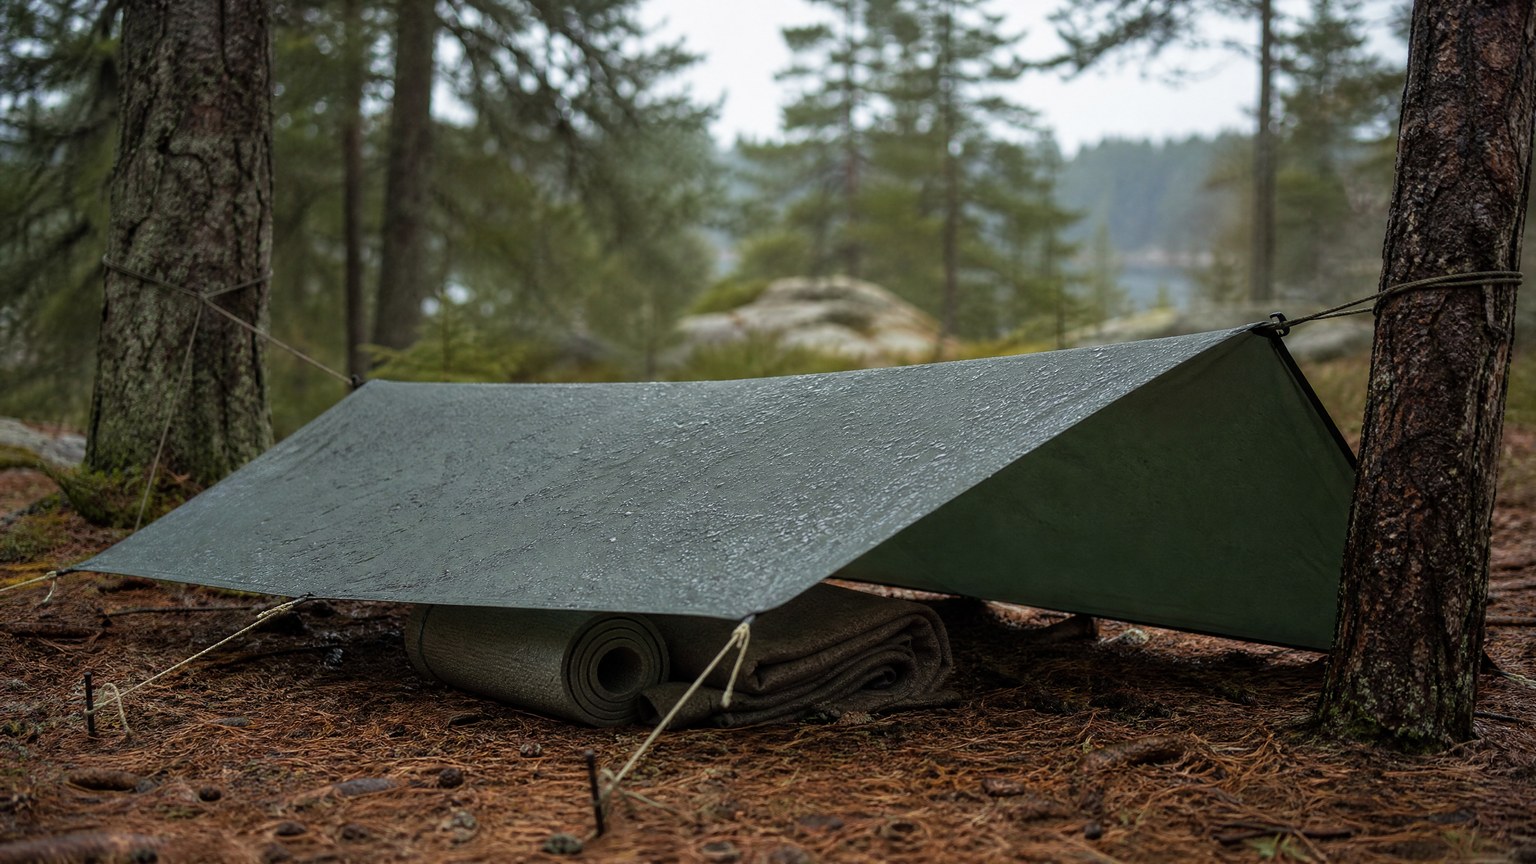
Practice version: pitch a tarp in the backyard in bad weather and sit under it for two hours. You will learn more about pitch angle, wind direction, and where water actually runs than any video will teach you. The gear is a tarp or emergency blanket, fifty feet of cord, a foam pad to get off the cold ground, and a dry layer sealed in a bag. Cold ground steals heat faster than cold air, and almost every beginner forgets the pad. If you want the deeper version of this, we broke down how to layer clothing for cold-weather survival separately.
Skill Three
Make Water Safe to Drink
Water is the skill with the most confident misinformation attached to it, so it pays to work from the source. The CDC's guidance on making water safe in an emergency is short enough to memorize.
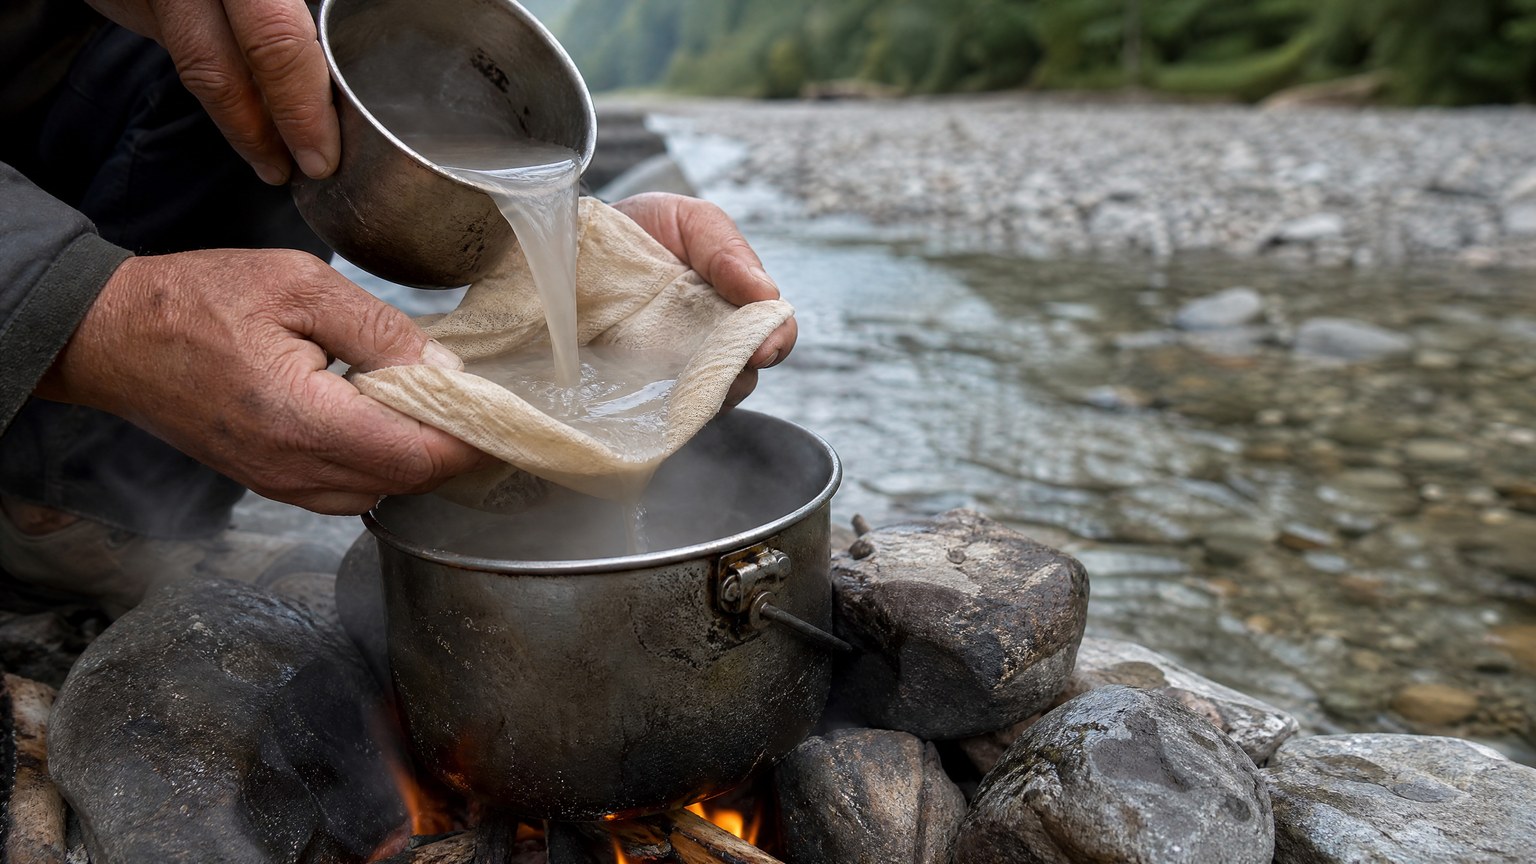
Boiling is the best way to kill germs in water. If the water is cloudy, filter it first through a clean cloth, paper towel, or coffee filter, or let it settle and draw off the clear water. Then bring clear water to a rolling boil for one minute. Above 6,500 feet of elevation, boil for three minutes instead, because water boils at a lower temperature up there and needs longer to do the same work.
Now the part that gets left out. Boiling kills germs. It does nothing about chemistry. The CDC states it plainly: you cannot make water containing fuel, toxic chemicals, or radioactive materials safe by boiling or disinfecting it. If a water source smells like fuel or sits downstream of something industrial, no amount of boiling fixes it. Walk away and find another source.
Chemical treatment is the backup, not the equal. Unscented household bleach or purification tablets will work when you cannot build a fire, but the CDC is clear that disinfectants do not work as well as boiling against some germs, specifically the parasites Cryptosporidium and Giardia. Which tablet you carry matters: the CDC notes that iodine, iodine tablets, and plain chlorine tablets will not kill Cryptosporidium, while chlorine dioxide tablets will if you follow the instructions correctly. The CDC also says anyone pregnant, with thyroid problems, or with an iodine sensitivity should avoid water disinfected with iodine. If you use bleach, note that household bleach in the United States is typically 5 to 9 percent sodium hypochlorite, that cloudy or very cold water needs double the dose, and that the water needs to stand at least 30 minutes before you drink it.
Filters are worth understanding properly too, since this is where marketing gets loose. Per the CDC, portable filters will not remove viruses at all. To remove bacteria a filter needs an absolute pore size of 0.3 micron or smaller, and to remove parasites like Giardia or Cryptosporidium it needs 1 micron or smaller. A filter plus a chemical step covers what either one misses alone. We went further into field methods in how to purify water in the backcountry.
Skill Four
Build a Fire, and Kill It Properly
Fire is the skill people most want to learn and the one they practice under the easiest possible conditions. Anyone can light dry kindling on a still evening. The skill is lighting wet wood in wind, and then leaving nothing behind that can restart.
Start with the part that gets skipped. The Park Service's campfire guidance is to look around your site first and make sure your tent, gear, and anything else flammable is at least 15 feet away and upwind of the fire pit. Never leave a fire unattended, and keep water nearby the entire time. Also worth knowing: the Park Service says to use only lighter fluid to start a campfire and never other accelerants like gasoline, never to squirt lighter fluid onto embers or an open flame because it can flare back and burn you, and to check at the visitor center first, since chemical accelerants are not allowed everywhere.
Putting a fire out is a real skill with a real failure mode. Whitish or gray coals can hold heat for hours and can flare back up if the wind picks up, so spread them out either way. If you have water, douse the fire and the coals with plenty of it until nothing is warm to the touch. If you have no water, the Park Service's method is sand and dirt, with an important caveat: do not simply kick dirt on top of the fire, because that can insulate and bank the coals and keep them hot even longer than leaving them exposed. Spread the coals out with a poker or a stick first, then keep stirring dirt and sand in among them until they go out.
One override sits above all of this. The Park Service's emergency guidance says not to build a fire at all if there is high fire risk or it is wildland fire season, because it could start a wildfire and put you and others at great risk. Turning your own emergency into somebody else's is the worst possible trade.
Practice version: light one fire in the rain, on purpose, with what you can find within ten steps. The gear is a ferrocerium rod, a lighter kept somewhere dry, and a small bag of tinder that does not care about weather. Our full walkthrough is in how to start a fire in wet conditions.
Skill Five
Signal So Somebody Can Actually Find You
Rescue is a two-way job. Search teams are good at what they do, and they are still looking for a person-sized object in terrain measured in square miles. Your half of the work is being findable.
The convention to learn is groups of three, because three of anything reads as deliberate rather than natural. The Park Service's instruction is to blow a whistle three times, take a break, then blow three times again, and to save your energy by not yelling. After dark, flash the SOS pattern with a light: three times quickly, three times slowly, three times quickly.
In daylight, a mirror does more per ounce than anything else in the pack. The FAA's manual reports that the signal mirror is considered by many to be a most effective visual signaling device, and that flashes from signal mirrors have been spotted from over 25 miles away. That is an observed distance rather than a rated range, but nothing else in a jacket pocket comes close, and it never needs a battery.
If you carry one piece of serious gear, make it a 406 MHz beacon, because it is the only signal that leaves the valley without help. According to NOAA's SARSAT program, personal locator beacons with a GNSS chip encode your position into the distress signal and narrow the location down to roughly the 100-meter level, with a minimum of 24 hours of battery life once activated. Two things matter before you rely on one. Registration is required by federal regulation, not merely recommended. And older 121.5 MHz beacons are a thin fallback at best. Satellites lost the ability to detect that frequency in 2009, so a 121.5 signal now depends entirely on an aircraft that happens to be within range and happens to be monitoring it.
Practice version: flash a mirror at a friend standing across a field so you know what aiming one actually feels like. Then put the whistle on a zipper pull where your hand can find it in the dark. The long version of this skill is in how to signal for help in a wilderness emergency.
Skill Six
Navigate Without a Screen
A phone is a fine navigation tool right up until it is cold, wet, cracked, or dead. The Park Service's Ten Essentials list, a framework developed by The Mountaineers, puts navigation first and says to know how to use a topographic map, compass, or GPS unit before going out, and to bring a physical map as a backup. Paper does not run out of charge.
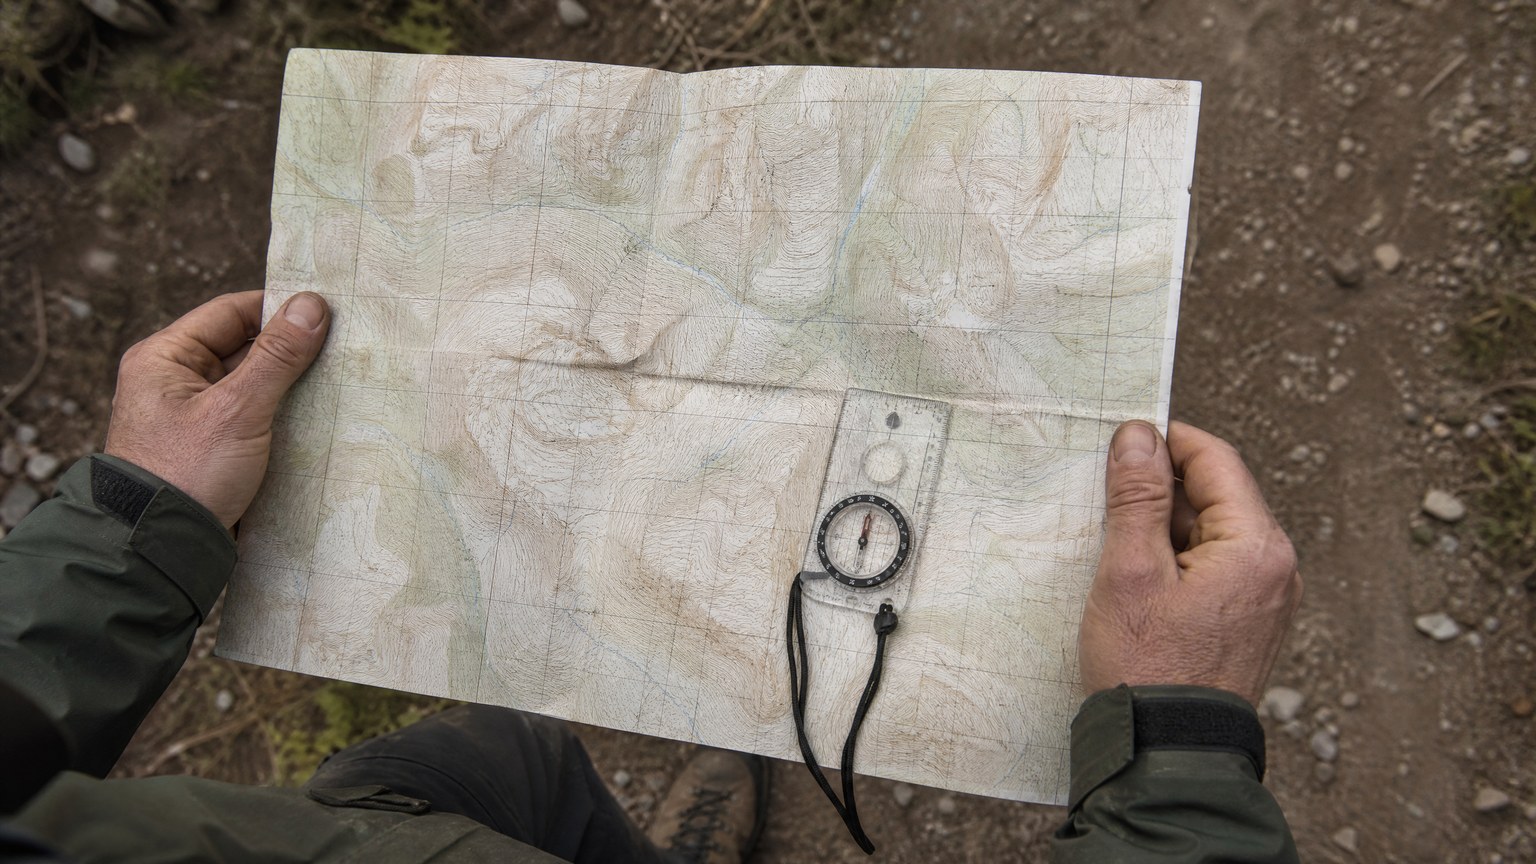
The beginner-level version of this skill is smaller than it sounds. You do not need to shoot resection bearings. You need to be able to orient a map to the ground, identify two features you can actually see, and keep a running sense of roughly where you are so that being lost never becomes a surprise.
The one piece of compass theory worth internalizing is declination, because skipping it is how careful people walk confidently in the wrong direction. NOAA's geomagnetism FAQ defines magnetic declination as the angle between magnetic north and true north. Its answer to whether a compass needle points at the magnetic pole is simply no: the needle points along the horizontal component of the local magnetic field, not at any single spot on the map. NOAA also notes that local anomalies exceeding 10 degrees of declination do exist, although it calls them rare, and that smaller anomalies of 3 to 4 degrees occur in limited areas. Its own example: one part of Minnesota has a mapped anomaly of 16 degrees east, with anomalies a few miles away of 12 degrees west. Your compass is reporting local conditions honestly. It is just not reporting the thing you assumed.
Practice version: walk a familiar trail with the phone in your pocket and the map in your hand, and check yourself against the map every time the terrain changes. The full treatment is in basic land navigation without GPS.
Skill Seven
Stop Bleeding That Will Not Stop Itself
Most outdoor injuries are minor. The one that is not minor is bleeding that keeps going, and it is the only item on this list where the clock is measured in minutes rather than hours. That is the deliberate exception to the ordering promised at the top: it sits last here because it is the least likely of the seven to come up, not because it is the least urgent. If it does come up, it outranks everything above it. It is worth learning even if you never leave the county, because the situation shows up in kitchens, garages, and roadsides far more often than on ridgelines.
The first part of the skill is recognition, and the American Red Cross gives criteria that are easy to hold onto rather than a number to guess at. Its guidance on life-threatening external bleeding uses volume and flow: bleeding may be life-threatening when the amount of blood present is about half of what a soda can holds, or noticeably less in a small child or infant, and blood that is flowing continuously or spurting is a sign of life-threatening bleeding.
The response is a short ordered list, and it starts with the phone. Check that the scene is safe, call 911 if the person needs emergency medical treatment, and then give care. Apply direct pressure to the wound. For life-threatening bleeding on an arm or leg, apply direct pressure and a tourniquet if you are trained. Use wound packing if you are trained for life-threatening bleeding from the scalp, neck, shoulder, groin, or back, or from a limb when no tourniquet is available. The Park Service's own emergency guidance reduces to the same hands-on move: control bleeding by applying direct pressure to the wound.
Two details reverse what a lot of people assume. The first is about gauze. The Red Cross says not to remove the original pad, and not to build up a stack of pads. If blood soaks through, you can put one more pad on top, and then replace that top pad as it soaks through, leaving the original one where it is. The second is about embedded objects. If something is stuck in the wound, do not pull it out, because removing it can make the bleeding much worse. Apply pressure around it instead.
Hold pressure until the bleeding stops, a tourniquet is on and working, someone relieves you, you are too exhausted to continue, or the scene becomes unsafe. Nothing about that list is convenient, which is the point. The gear is a real trauma dressing and a tourniquet you have actually practiced with, not a strip-bandage kit. Our friends over at 1st Hour, who build trauma kits for exactly this, wrote a step-by-step guide to how to stop severe bleeding for people with no medical background. Read it before you need it, and take a hands-on class if you can.
A Practice Order You Can Actually Follow
Skills decay when they live in a bookmark folder. Here is the same seven in the order worth practicing them, one per weekend, each one small enough to finish in an afternoon.
Look at what that list actually requires. A tarp, cord, a foam pad, a pot, a filter, a firesteel, a whistle, a mirror, a headlamp, a map and compass, a trauma dressing, and, if the budget stretches to it, a 406 MHz beacon. All of it fits in one pack, none of it is expensive, and every piece of it earns its weight more than once. That is the same logic behind a well-built everyday carry kit or a properly packed bug-out bag.
None of these seven is difficult. They are just unfamiliar, and unfamiliar is what falls apart under stress. Pick the one at the top of the list you have never actually done with your hands, and go do it badly this weekend. Doing it badly once beats reading about it ten times, and it is the only version of this that still works when you are cold, tired, and it is getting dark.
Get the Seven Skills Field Card as a Printable PDF
All seven skills on one sheet: the priority order, hypothermia warning signs, boil times and bleach doses, fire-out steps, whistle and light patterns, and the bleeding-control sequence. Folds into a map case or a glove box.
Download the Field Card (PDF)Build the Kit Before You Need the Skills
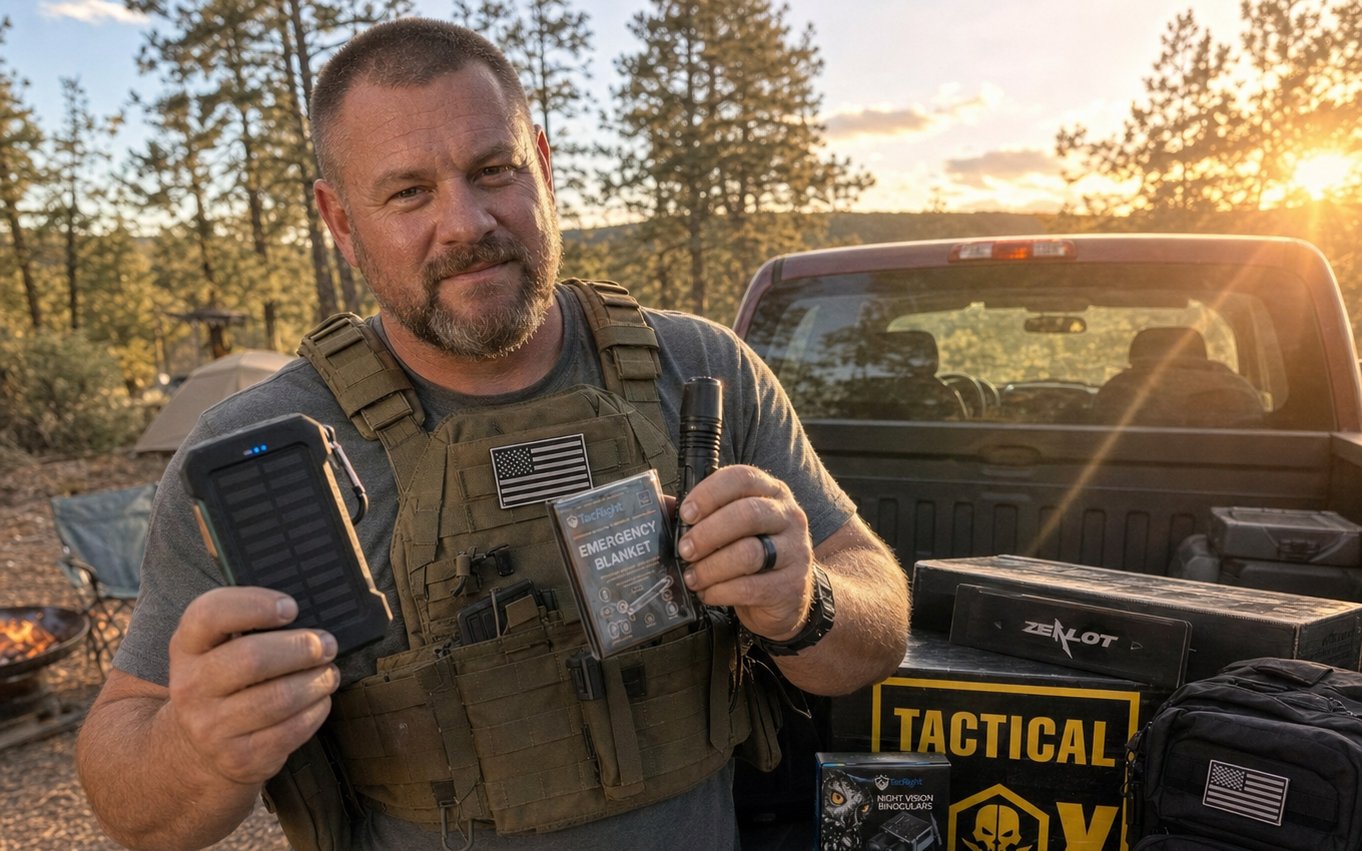
Every month, TacticalBox members get hand-picked tactical, survival, and outdoor gear, sourced ourselves from makers all over the country and curated to be some of the best equipment on the market, worth $150 or more per box. Subscribe once and the right gear keeps showing up before you need it, backed by a money-back guarantee. Cancel, pause, or skip anytime.
Become a MemberThis content is for informational purposes only and is not a substitute for formal wilderness survival, first aid, or search-and-rescue training. Tourniquet use and wound packing should be learned hands-on from a qualified instructor. Call 911 whenever you have coverage. Fires can start wildfires, so do not build one where fire danger is elevated or fires are restricted, and follow all local land-management rules. Water treatment guidance here summarizes CDC recommendations for emergencies and does not cover chemically contaminated sources. Always tell someone your route and expected return time before heading out.