Basic Land Navigation Without GPS
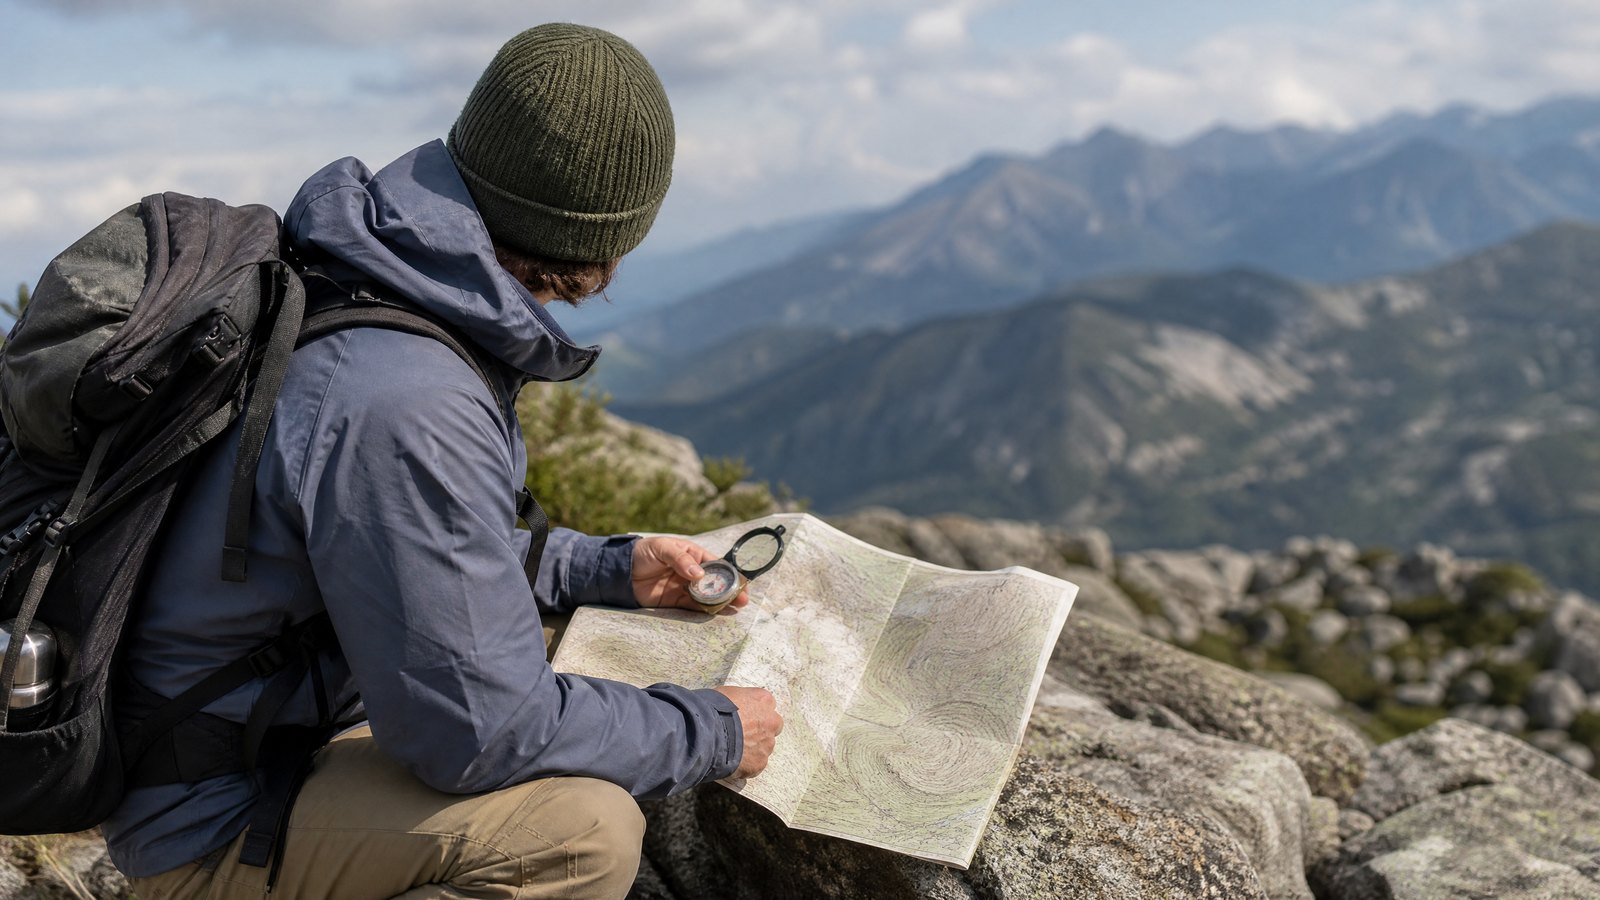
Carry a paper topographic map of where you are actually going, a baseplate compass, and a pencil. Learn four things and you can navigate almost anywhere without a screen. One, read contour lines so the map matches the ground in front of you. Two, set your compass for magnetic declination, because magnetic north and true north are not the same direction and the difference varies by location. Three, take a bearing off the map and walk it, aiming for a large feature rather than a pinpoint. Four, know your own pace count so you have a rough sense of distance covered. Practice all of it in a park on a clear afternoon, not for the first time in fog at 4,000 feet.
A phone is a good navigation tool right up until it is not one. Cold kills the battery, water kills the phone, and canyon walls and dense canopy will happily eat the signal. None of that is a reason to leave the phone at home. It is a reason to have something behind it that does not need power. The National Park Service puts navigation first in its list of Ten Essentials and is blunt about the order of operations: know how to use a topographic map, compass, or GPS unit before going out, and bring a physical map as a backup. The map and compass are not a nostalgia exercise. They are the layer that still works after everything else has quit.
What follows is the short version of a skill that takes an afternoon to learn and years to get smooth at. None of it is difficult. It is just unfamiliar, and unfamiliar becomes dangerous when you save it for a bad day.
Start With the Map, Not the Compass
Most people who own a compass have never really read a map, and that is backwards. The compass only tells you which way is north. The map tells you where you are and what is between you and where you want to be. In the United States the standard reference is the USGS quadrangle series. According to the USGS, 7.5-minute quadrangle maps covering the lower 48 states and Hawaii are published at a scale of 1:24,000, which means one inch on the paper equals 2,000 feet on the ground. Get that number in your head before you walk anywhere, because it turns inches between your fingers into real distance.
The feature that makes a topo map worth carrying is the contour lines. USGS describes them as imaginary lines connecting points of equal elevation, and once you can read them the flat sheet turns into terrain. Lines packed tight mean steep ground. Lines spread wide mean gentle ground. Concentric rings closing on themselves usually mean a summit, though closed rings with small tick marks pointing inward mean the opposite, a depression. A V pointing uphill is a drainage carrying water down, and a V pointing downhill is a ridge running out. Find the contour interval printed in the map margin so you know how much elevation each line represents, since it changes from map to map depending on the terrain.
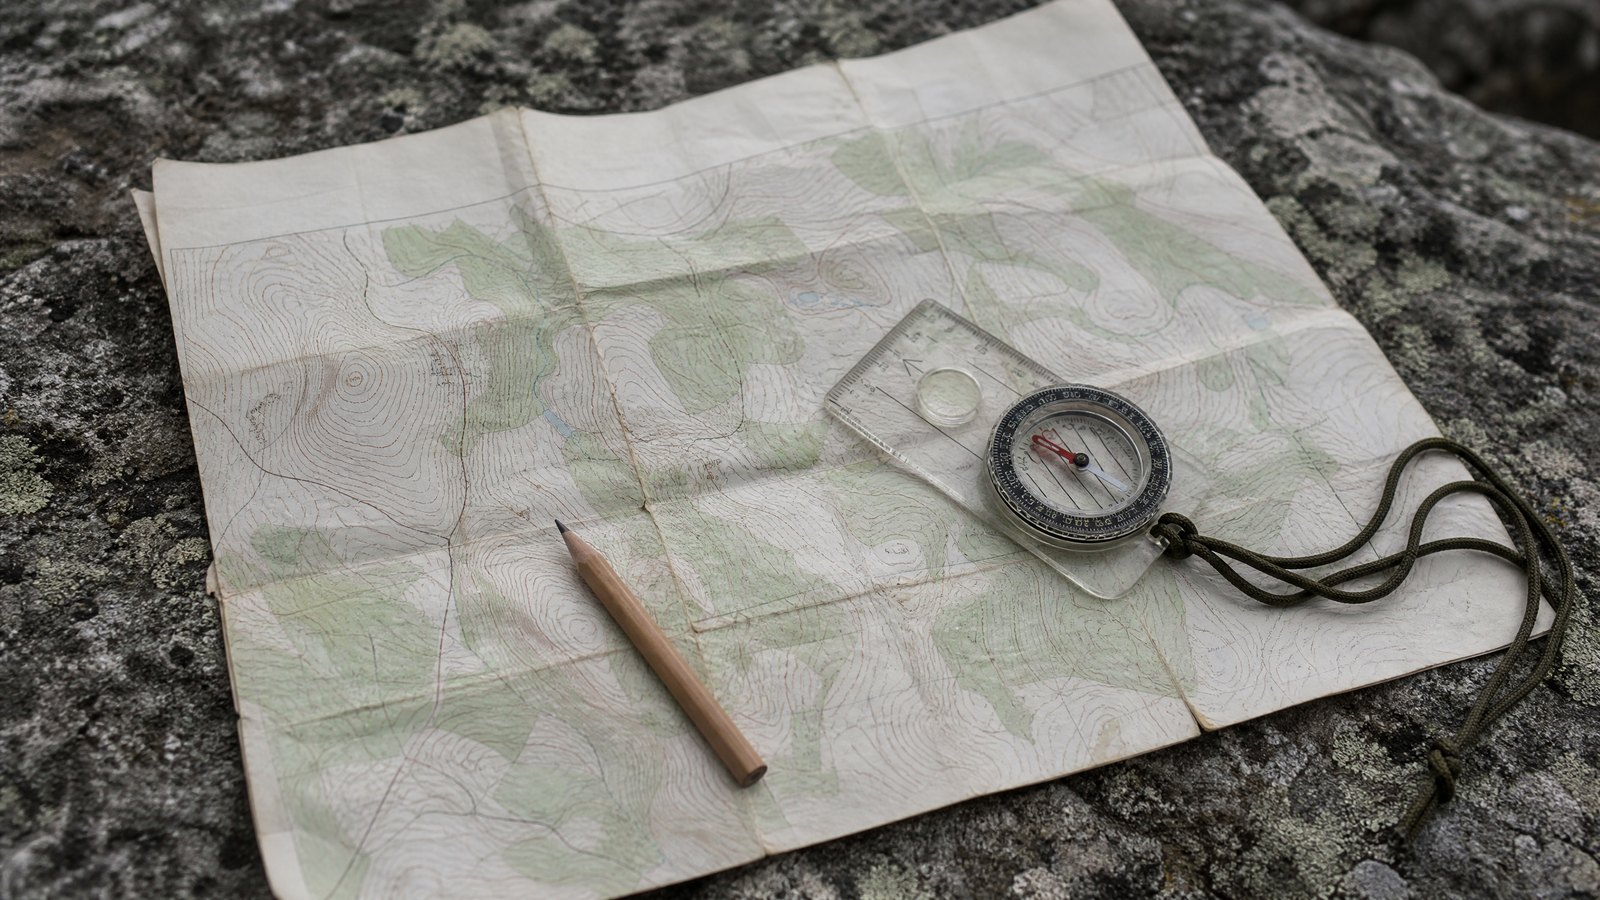
Before you leave the trailhead, spend two minutes orienting the map to the ground. Turn it until the features on the paper line up with the features you can see: that ridge on your left, that drainage below you, that lake off to the right. Do that once at the start and you have already caught most of the mistakes people make later, because you now know which way you are actually facing.
Set Your Declination Or Your Bearings Are Wrong
This is the single most common way a competent person walks off into the wrong valley. Your map is drawn to north. Your compass needle answers to the earth's magnetic field, and at your particular spot on the planet that is not the same direction. NOAA's National Centers for Environmental Information defines magnetic declination as the angle between magnetic north and true north, positive when magnetic north sits east of true north and negative when it sits west, and it notes that declination changes both over time and with location. NOAA is also clear that the needle is not aiming at the magnetic pole like an arrow at a target. It responds to the horizontal component of the local field, which is why the correction is local and why a value you memorized on a trip three states away is useless here.
Both directions of the correction matter, because you will use each one. Going from the compass to the map, NOAA's convention is that you get a true bearing by adding the declination to the magnetic bearing, treating west values as negative. Going the other way, from a bearing you measured on the map to the number you actually walk, you reverse it and subtract the declination instead. That second one is the direction people get wrong, and getting it backwards does not just leave the error in place, it doubles it. The cleanest way out of the arithmetic entirely is to set the declination on the compass itself and let the tool handle it, which is covered below.
The stakes are easy to underestimate. A ten degree error does not sound like much standing still, but the trigonometry is unforgiving: over a single mile of walking, ten degrees puts you roughly 900 feet off your intended line. In thick timber that is more than enough to miss the saddle you were aiming for entirely, and it compounds on every leg you walk.
Handle it once, before the trip. Look up the current value for your area on NOAA's geomagnetic calculator, then either set the adjustable declination screw on your compass so the correction is built in, or write the number in pencil on the map margin where you cannot forget it. Adjustable is better. A number you have to remember at hour nine of a hard day is a number you will get wrong.
Taking a Bearing and Actually Walking It
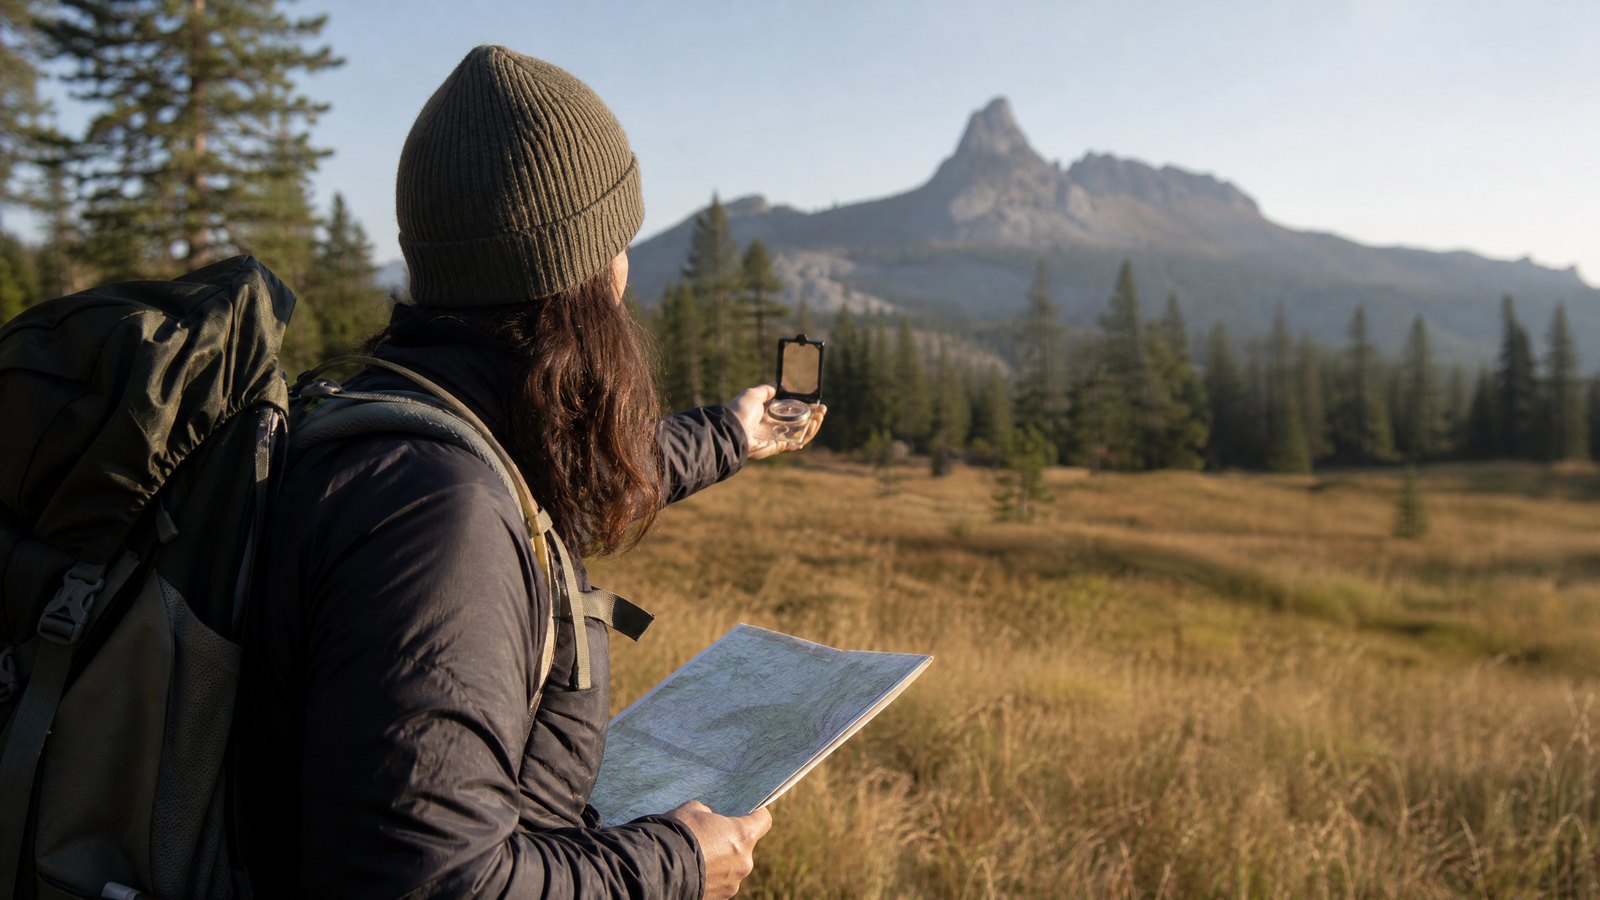
Here is the whole procedure. It is worth doing on paper at your kitchen table a few times so your hands know it.
That last step is the one people skip, and it is the one that keeps you straight. Walking with your eyes down on the dial makes you wander, because you correct constantly and drift constantly. Sighting to a fixed object and walking to it removes your own error from the equation for the next few hundred yards.
Two habits make bearings far more forgiving. The first is aiming off. If you are trying to hit a small target like a bridge on a creek, deliberately aim to one known side of it, hit the creek, then turn and follow the water to the bridge. You have traded a needle-threading problem for a much easier one. The second is using handrails and catching features. A handrail is a long linear feature you can follow instead of navigating, like a ridgeline, a river, a fence, or a road. A catching feature is something obvious and unmissable past your destination, so if you cross it you know immediately that you overshot. Building a route out of those instead of a chain of precise bearings is how experienced people move fast without getting lost.
Know Your Pace Count
Direction without distance is only half a position. If you know you need to travel 600 meters on a bearing, you need some way to tell 600 meters from 1,200. The low-tech answer is a pace count, and it costs you one afternoon to calibrate. Measure out 100 meters on flat ground, walk it at your normal loaded stride, and count every time your right foot hits. That number is yours. Nobody else's number will do, because leg length and gait vary too much for a rule of thumb to be worth anything.
Then adjust for reality. Your count goes up climbing, in deep snow, in soft sand, in thick brush, and when you are tired. Walk the same 100 meters uphill and note that number too. To keep track over long legs, move a bead on a length of cord or drop a pebble from one pocket to another every hundred meters, because counting to 1,400 in your head while also watching terrain is how you lose your place. Pair the pace count with a watch and a rough sense of your speed and you have a second, independent estimate of where you are. Two estimates that agree is confidence. Two that disagree is a signal to stop and sort it out before you go further.
When You Are Already Turned Around
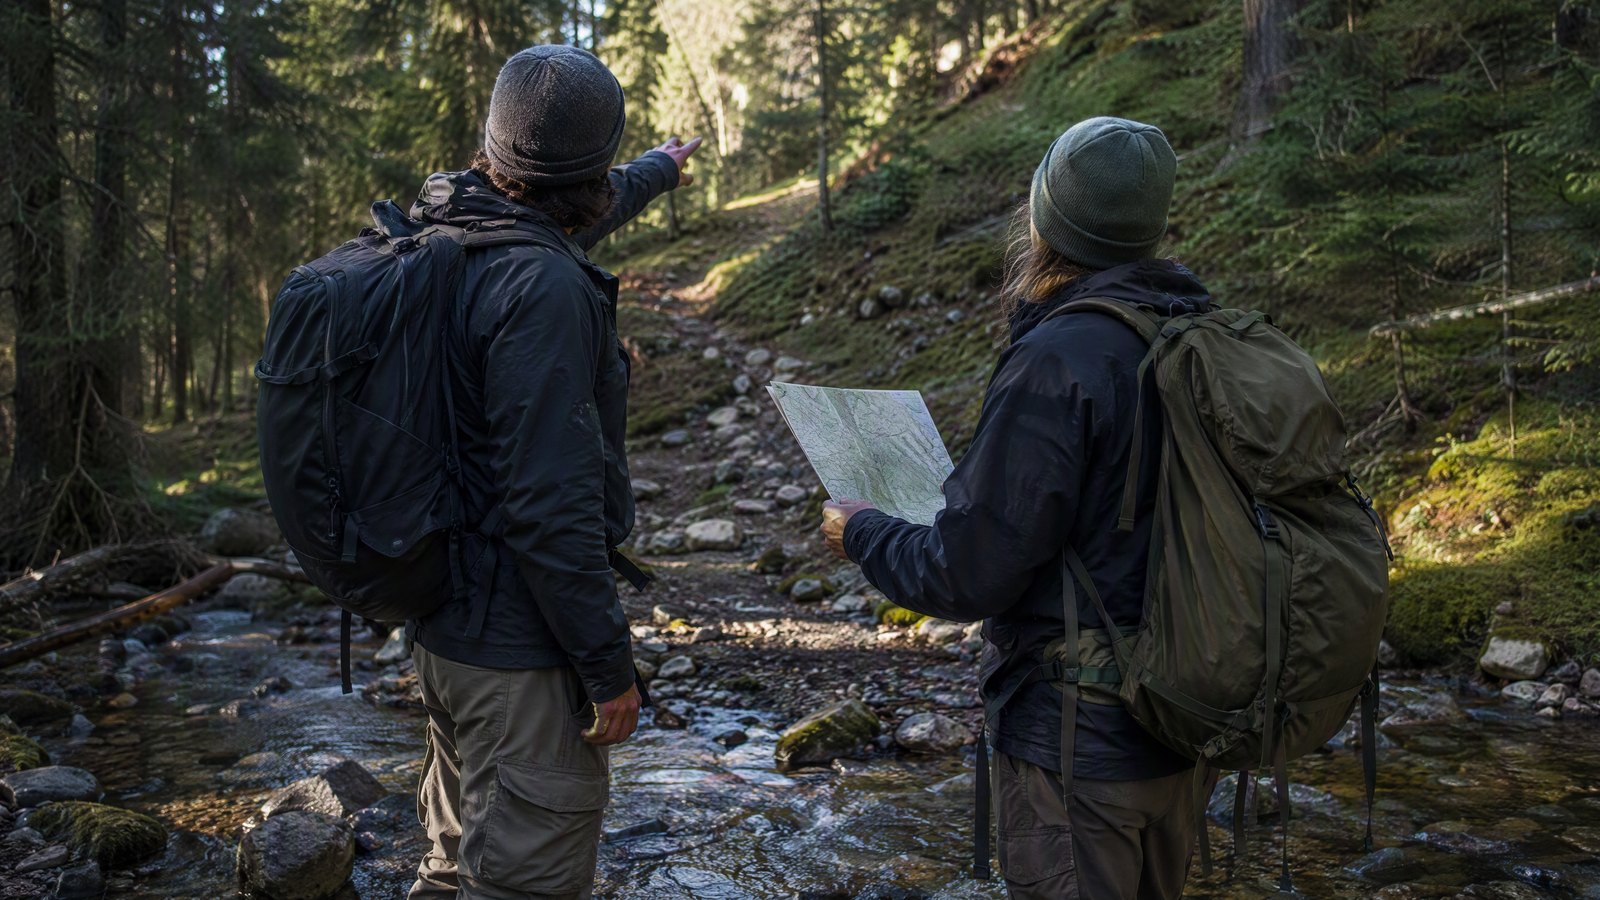
Being uncertain about your position is not an emergency. Continuing to walk while uncertain is how it becomes one. The moment you notice the map is no longer matching the ground, stop moving and sit down. Get out the map, work out the last place you were genuinely sure of, and think about the terrain you have crossed since. Look for big features you can positively identify: a drainage, a ridge, a lake, a road, a powerline cut. Two confirmed features and a compass will usually put you back on the map. If they do not, backtracking to your last known point is almost always better than pressing forward on a guess, because a known position beats a hopeful one every time.
Tell someone your route and your expected return before you leave, every time. That single habit does more for your odds than any piece of gear, because it means somebody starts looking in the right drainage instead of the wrong state. And if things have gone past navigation and into genuine survival, our friends at 1st Hour put together a good field guide on what to do when you are lost in the wilderness, including how to prioritize shelter, water, and signaling once staying put becomes the right call.
Land navigation has a reputation for being complicated, and it is not. It is a map you can read, a compass you have set correctly, a bearing you trust, and a rough count of your own steps. Four skills, one afternoon of practice, and a set of tools that never needs charging. Take them out to a local park this weekend and walk a couple of legs on purpose while there is nothing at stake. That is the whole point of practicing it now.
Get the Land Navigation Field Card as a Printable PDF
The bearing sequence, the declination reminder, your pace-count worksheet, and the stop-and-reorient drill on one sheet you can fold into a map case.
Download the Field Card (PDF)Never Scramble For Gear Again
Every month, TacticalBox members get hand-picked tactical, survival, and outdoor gear, sourced ourselves from makers all over the country and curated to be some of the best equipment on the market, worth $150 or more per box. Subscribe once and the right gear keeps showing up before you need it, backed by a money-back guarantee. Cancel, pause, or skip anytime.
Get Your TacticalBoxThis content is for informational purposes only and is not a substitute for formal wilderness navigation instruction. Magnetic declination values change over time and by location, so check a current source such as NOAA's geomagnetic calculator for your specific area before relying on a bearing. Always tell someone your route and expected return time before heading into the backcountry.