
How to Build a First-Night Shelter in the Wild
Building a shelter is not the first thing you do when a day hike turns into an overnight. The National Park Service's lost-hiker plan runs in three steps: retrace your route if you safely can, call 911 if you cannot, and only in the third step, if you have no phone or no reception, does finding shelter come up. When you do get to that point, the site decides more than the build. Get off low ground beside water, get out from under dead limbs, and get insulation between you and the dirt before you worry about the roof. A crude shelter that keeps you dry and off the ground will carry you through a night that a handsome one built in the wrong spot will not.
Almost nobody plans a first night out. It arrives sideways. A trail junction gets misread in flat light, a descent takes two hours longer than the map suggested, an ankle rolls at four in the afternoon, and suddenly the arithmetic on daylight stops working. That is the situation this guide is written for. Not bushcraft as a hobby, but the shelter you throw together in the ninety minutes you have left, with whatever is in your pack and on the ground around you.
Everything below assumes one thing: that you have already worked through the steps that come first, and that spending the night is now the plan rather than the failure. Start there, because getting the order wrong is a bigger risk than getting the build wrong.
First, Make Sure You Should Be Building At All
It is worth being precise about where shelter sits in the official guidance, because a lot of survival writing puts it at the top of the response sequence and that is not where the Park Service puts it. The NPS Outdoor Emergency Plan lays out three numbered steps for someone who is lost. Step one is to stop, breathe, find your location with a map, compass, GPS or visible landmarks, and retrace your steps if it is safe to do so. Step two, if you cannot retrace them, is to call 911 with your GPS coordinates if your phone has them, the trail or area of the park where you started, your last known location, a description of your surroundings, what you are wearing, what gear you have and any medical conditions. It is inside that step, after the call is made, that the plan tells you to stay put, because changing location makes it harder for searchers to find you, and to move only if there is an immediate threat to your life.
Step three is titled Wait for Help, and it opens with the instruction to find shelter, meaning a place that can protect you from sun, rain and snow. That step is headed for the case where you do not have a cellphone or reception to call 911 at all, though the plan also directs anyone who has called and is waiting on rescue to work through the same steps.
Worth Naming HonestlyThe same NPS plan lists Shelter as one of its Ten Essentials, and defines it as a tent, tarp or bivvy you are already carrying. The official expectation is that you have shelter with you before you need it. What follows is the fallback for the day that expectation does not hold, which is most days, for most people, on what was supposed to be a short hike.
So the practical sequence on a real evening looks like this. Stop moving while you still have light. Try to place yourself on the map. If you can get back to a known trail before dark without scrambling in the dusk, go. If you cannot, try the phone, and try it from the highest open ground within easy reach rather than the drainage you are standing in. Move for reception before you make the call, not after: once you have called, the NPS rule is to stay put, because changing location makes you harder to find. Only when both of those are exhausted do you start looking at the ground for a place to spend the night.
The Site Kills More People Than The Build
A shelter is a roof and some walls. A site is everything that can happen to you while you are asleep under it. The second one deserves the first ten minutes.
Two agencies have published the hazards worth walking away from. The first two below are theirs; the second two are ours.
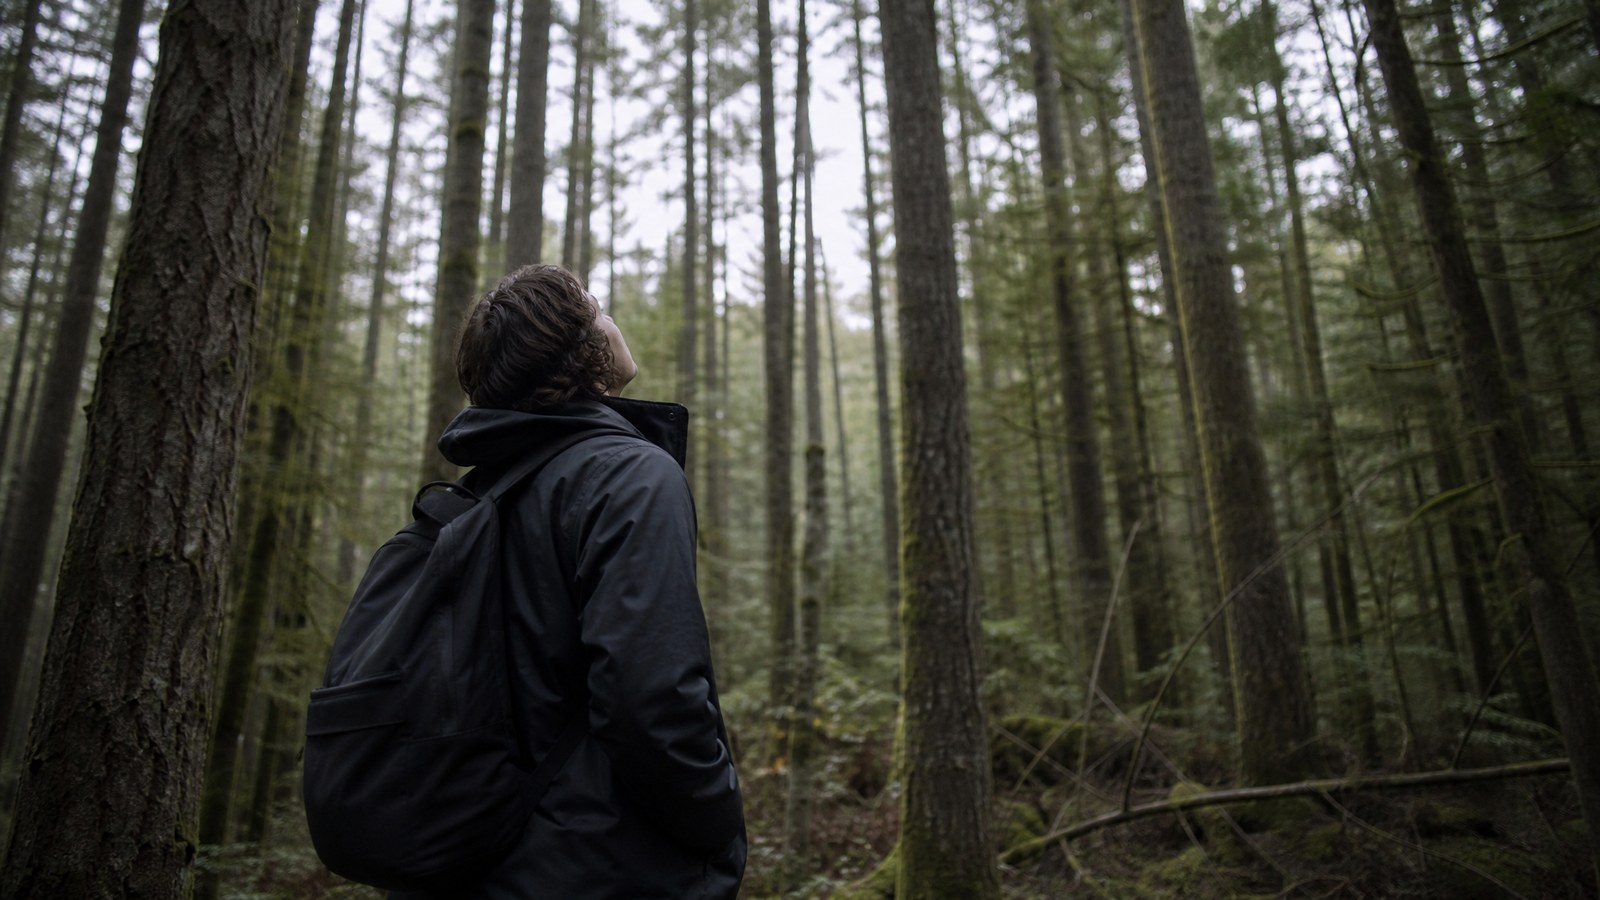
| 01 | Look up, especially when it is windyThe Forest Service's hazard tree guidance is blunt about this: falling trees are an ever-present hazard when traveling or camping in the forest, and they can fall without warning. Avoid parking or camping in areas where trees could fall. Avoid dense patches of dead trees, because limbs and damaged trees may fall at any time. Trees without needles, bark or limbs may indicate structural defects, and trees with conks, broken tops, basal scars, numerous downed limbs, ants or an abundance of woodpecker holes may have internal rot. Be particularly watchful when it is windy or after a snowstorm has loaded the branches. The first instruction is to stay out of the forest altogether when winds are strong enough to blow trees down; if you are already in it when the wind kicks up, head to a clearing out of reach of any potential falling trees. |
| 02 | Get off the low ground next to waterThe National Weather Service Blacksburg office's camping and hiking flood guidance puts it in one sentence: never camp on low ground next to streams, since a flash flood can catch you while you are asleep. It is not about the rain over your head. Distant rain gets channeled into gullies and ravines and turns a quiet stream into a torrent in minutes, and dry streambeds can become raging torrents with no rain in sight. The same guidance warns that heavy rain in hilly or mountainous terrain can trigger debris flows that destroy campsites and bury campers in minutes. A flat, sandy bench in a gully is the most inviting ground you will find and the worst place to lie down. And if water does start rising while you are there, the instruction is not to wait it out: even a slight rise in water level means seek higher ground immediately, and never enter floodwater on foot or in a vehicle. |
| 03 | Get out of the wind, not just out of the rain (our own rule)Moving air strips heat off you faster than still air at the same temperature, and it is the variable most people ignore because it is invisible. The lee side of a ridge, a stand of thick conifers, a rock face with the wind hitting its far side. Not a saddle, not an exposed ridgeline, and not the open bank of a lake where wind runs unbroken across the water. |
| 04 | Take the boring middle ground (our own rule)What you want is dull terrain: gently sloped so water runs past rather than pools, above the valley floor but below the exposed ridge, under living trees rather than dead ones, near enough to deadfall and leaf litter that you are not hauling building material a hundred yards in the dark. |
One more check that takes ten seconds and is worth doing every time. Stand where your head will be and look straight up. Then walk a slow circle around the spot and look up again from each side. Broken limbs hung up in a canopy are almost impossible to see from directly beneath them and obvious from twenty feet away.
Three Builds That Actually Work
Skip the elaborate stuff. On a first night you want the smallest shelter that will hold your body heat, built fast enough that you finish before dark with energy left over. Pick whichever of these three matches the gear you have.
The found shelter. Always the first option, because it costs no daylight and no calories. A rock overhang, the dry hollow under a thick low-branched conifer, the cavity under an uprooted root ball, a deadfall leaning against a standing trunk. You are not building, you are improving: close the windward end with branches and debris, get bedding underneath you, and you are done in twenty minutes instead of two hours. Check what lives there first, and check what is above it, since root balls and overhangs sit under exactly the kind of unstable ground and hung-up timber the site rules warn about.
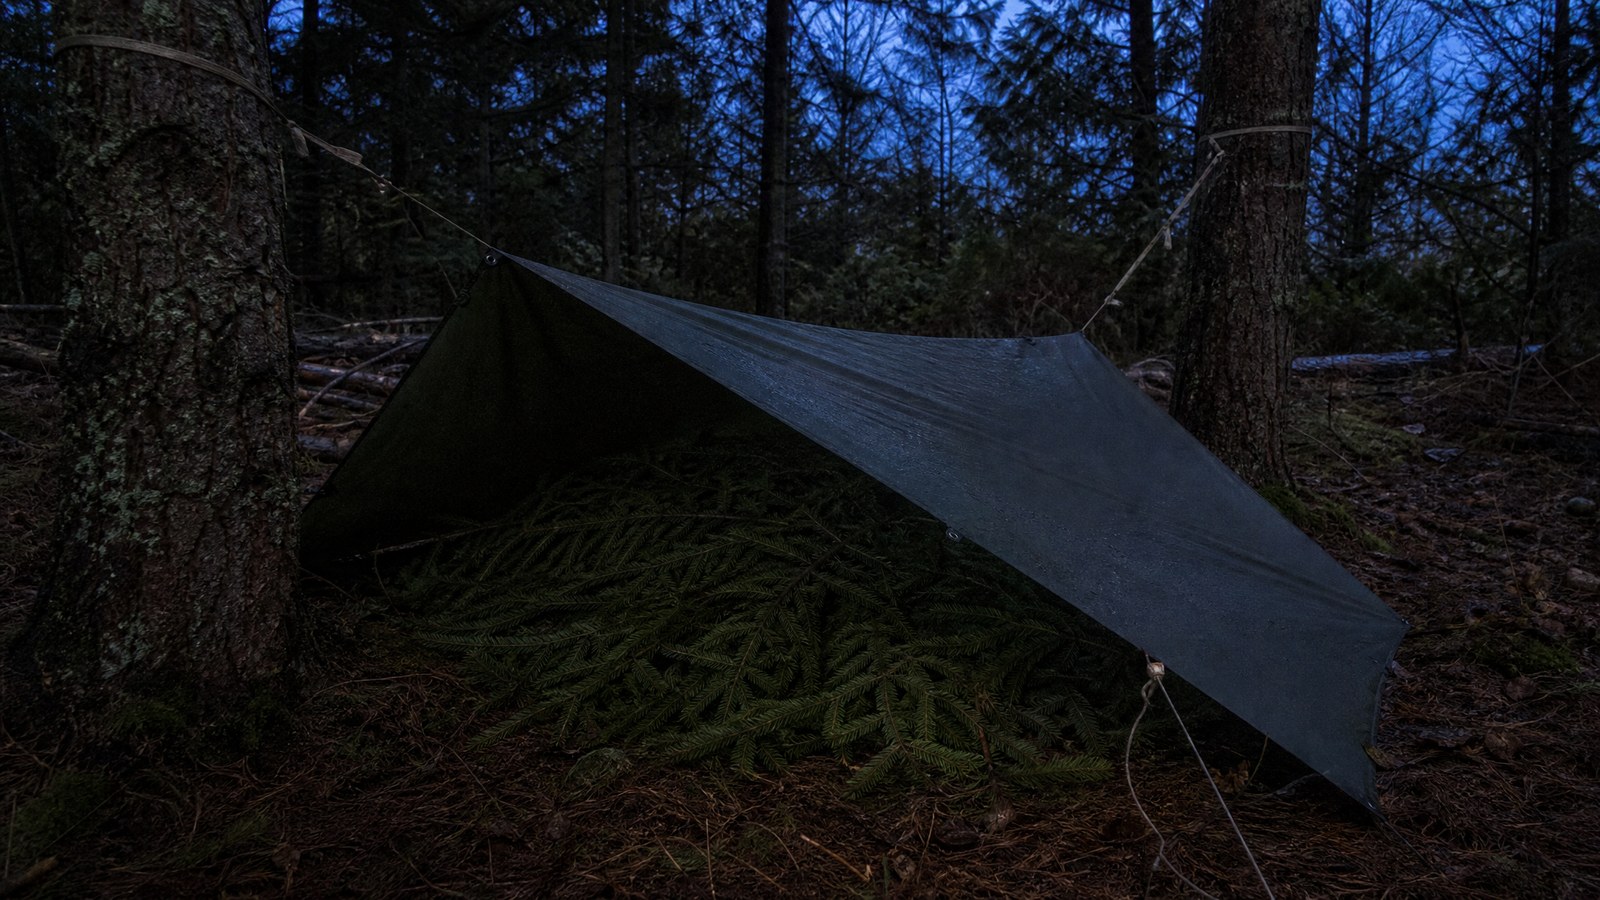
The tarp or blanket lean-to. If you are carrying a tarp, a poncho, a bivvy or an emergency blanket, this is the fastest real shelter there is. Run a line between two trees at roughly waist height, hang the material over it or tie one edge along it, stake or weight the low edge into the ground on the windward side, and leave the sheltered side open. Keep it low. A tall lean-to is a wind tunnel with a roof. If you have enough material, fold part of it under you rather than putting all of it overhead, because a reflective sheet does nothing for you sitting on wet soil.
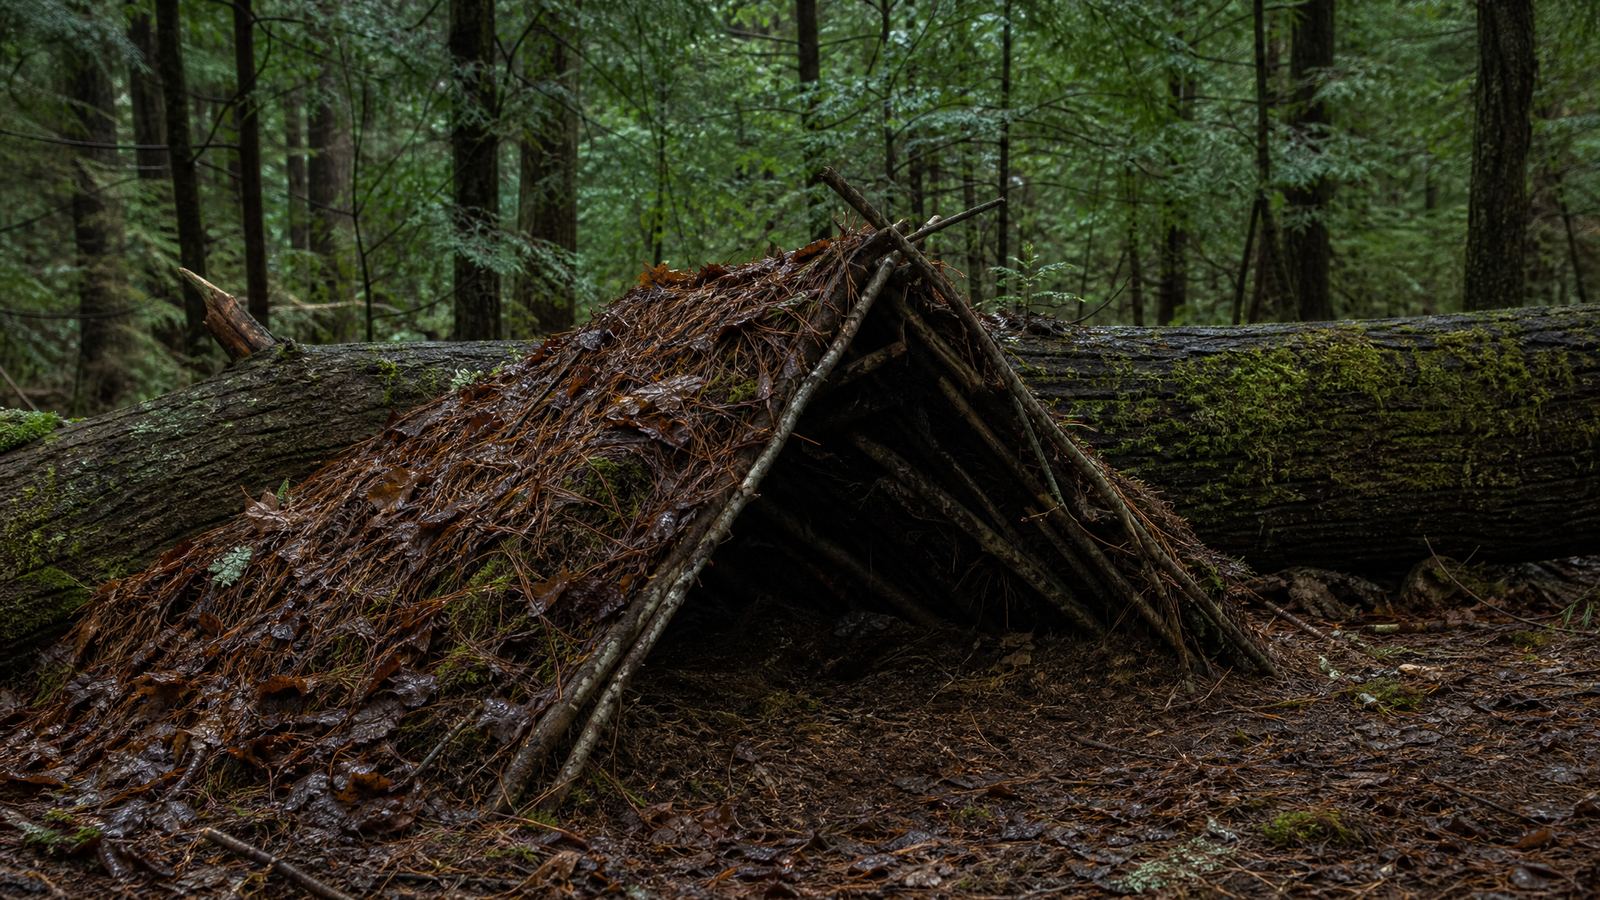
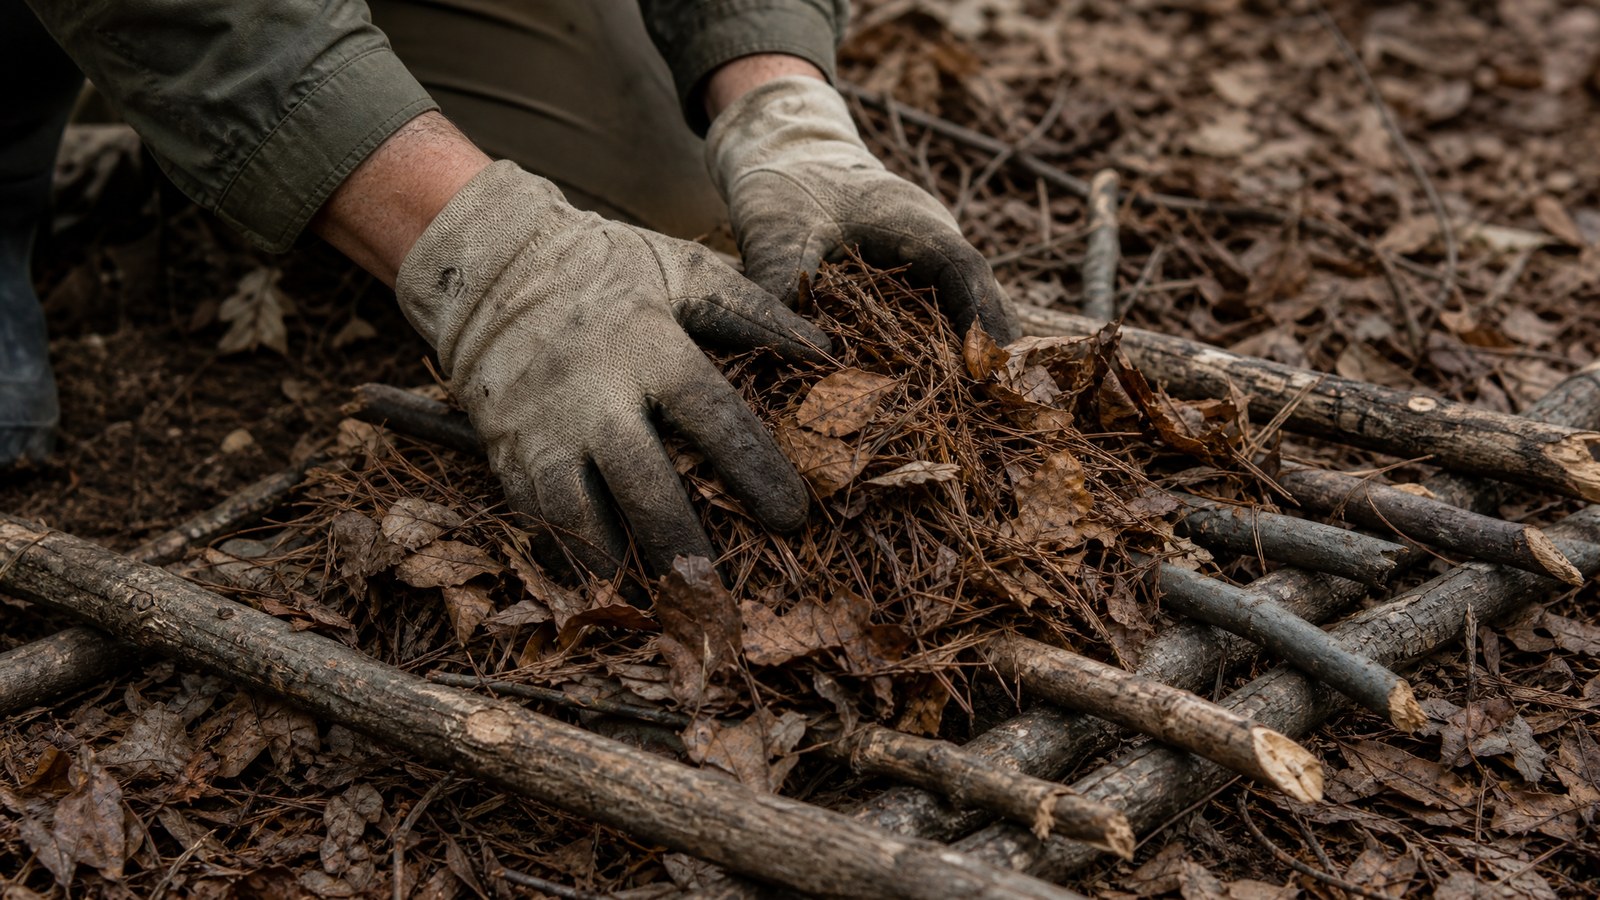
The debris hut. The no-gear option, and the warmest of the three when it is built properly, because it works like a sleeping bag rather than a house. Set one end of a long straight branch on a stump, rock or forked support about hip height and rest the other end on the ground, making a spine. Lean shorter branches along both sides of that spine at a steep angle to make a narrow A-shaped frame, barely wider than your shoulders. Lay finer branches crosswise over the ribs so debris has something to catch on. Then pile on leaf litter, pine needles, ferns and duff, from the bottom up, until the pile is deep. Stuff the inside with the driest, softest debris you can gather until you have to burrow into it.
The Only Test That MattersCrawl in and look for daylight through the walls. If you can see light, heat is leaving there too and rain will follow it. Add more debris until the inside is dark, then add another armful, because the pile settles overnight. Make the shelter small enough that your body fills it. Empty space is space you have to heat.
The Ground Is What Will Get You
Most people build a roof and then lie down on bare dirt, and then spend the night wondering why they are freezing under a shelter that is doing its job. Cold ground is in contact with you all night and pulls heat out of you the entire time. Nothing overhead compensates for that.
Build the bed before you finish the roof if daylight is short. Pile evergreen boughs, dry leaves, grass, ferns, bark slabs, anything that traps air, into a layer thick enough that it still has loft after you lie down on it and compress it. Whatever you think is enough, roughly double it. If you are carrying a foam pad, an emergency blanket or an empty pack, that goes underneath you, not over you.
Wet is the other half of the problem, and it is worse than cold on its own. The CDC's winter weather guidance notes that hypothermia is most likely in very cold conditions but can occur even at cool temperatures above 40°F if a person becomes chilled from rain, sweat or submersion in cold water. A drizzly night at 45 degrees with wet clothing is a genuine hypothermia scenario, and that is precisely the weather people fail to take seriously. Two things follow. Do not work yourself into a sweat building the shelter, because damp base layers will punish you for the rest of the night, so strip a layer while you work and put it back on when you stop. And get out of anything already soaked if you have any dry alternative at all.
Know the warning signs too, in yourself and in anyone with you. The CDC lists shivering, exhaustion, confusion, fumbling hands, memory loss, slurred speech and drowsiness in adults, and notes that low body temperature affects the brain, which is what makes it dangerous: the person may not realize it is happening. The CDC treats hypothermia itself as a medical emergency: if you see those signs, seek medical attention as soon as possible, and a temperature below 95°F confirms it. That is where the CDC's own order starts. Only if you cannot get medical help right away does it tell you to warm the person: get them into a warm room or shelter, remove any wet clothing, and warm the core first, the chest, neck, head and groin, under dry layers or with skin-to-skin contact. Warm non-alcoholic drinks help if the person is conscious. Never alcohol, and never a drink of any kind for someone who is unconscious. Our friends at 1st Hour have a fuller walkthrough of hypothermia field treatment before help arrives, and it is worth reading before a trip rather than during one.
Fire, Noise And Being Found
Fire feels like the centerpiece of a night out and it is genuinely useful, but it is worth knowing that the NPS plan never tells you to build one. Its keep-warm instruction is simpler than that: the temperature outside can change through the day, so if you begin to feel cold, put on any extra layers of clothing you have with you. What the plan does say about fire is a warning. Do not build a fire if there is a high fire risk at the park or if it is wildland fire season, because it could cause a wildfire and put you and others at great risk. That is the agency's line. Our own rule on top of it: check the fire restrictions for where you are going before you leave, and if you cannot recall them, treat that as a no. A shelter with good insulation will get you through a night. A wildfire will not be got through by anyone.
Where fire is permitted and conditions allow, keep it small and keep it well clear of your shelter, since a debris hut is a pile of dry tinder with a person inside it. If you want the technique for lighting one when everything around you is soaked, we covered that separately in our guide to starting a fire in wet conditions.
Signaling is the part people forget once they are warm. The same NPS step-three list gives specific methods, and they cost almost nothing. Blow a whistle three times, rest, and blow three times again, which saves the energy that yelling burns. Flash a light in the SOS pattern, three times quickly, three slowly, three quickly, and use it sparingly because it drains batteries. Flash a mirror at aircraft in the area. Make yourself visible by laying out the shelter from your Ten Essentials or arranging rocks into a shape that can be seen from the air. Then conserve energy and wait.
Do that work in daylight, while you can still see the ground. Lay out the ground signal, hang anything bright where it will catch an eye from above, and put the whistle around your neck rather than in the pack, so that when you hear something at three in the morning you are not digging through gear to answer it. If you want the full treatment of that side of it, our guide to signaling for help in a wilderness emergency goes deeper.
What Turns This From A Skill Into A Non-Event
Every shelter above is easier with three items that weigh almost nothing and live permanently in a daypack. A lightweight tarp or emergency bivvy turns a two-hour debris build into a twenty-minute pitch. A closed-cell foam sit pad, even a small one, puts the insulation exactly where you need it under your hips and shoulders. Cordage means you can rig a ridgeline instead of wedging a pole and hoping.
None of that is exotic gear. It is the sort of thing that quietly accumulates in a kit and then makes an unplanned night an inconvenience instead of an emergency. If your pack is still coming together, our bug-out bag essentials breakdown covers the wider load, and the survival skills worth learning first covers what to practice before you need it.
The real lesson from the official guidance is that in the lost-hiker sequence shelter is step three, not step one, and that the Park Service expects you to be carrying it before you leave: a tent, tarp or bivvy is on its 10 Essentials list. Building one from sticks and leaves is a genuine skill and worth having in your hands. It is also the fallback. The night goes far better for the person who had a tarp, a pad and some cord in the bottom of the bag the whole time and never thought about it once.
Get the First-Night Shelter Field Card as a Printable PDF
The site checks, the build order, the ground-insulation rule and the signaling pattern on one sheet that fits in a pack lid.
Download the Field Card (PDF)Have The Gear Before The Night Goes Long
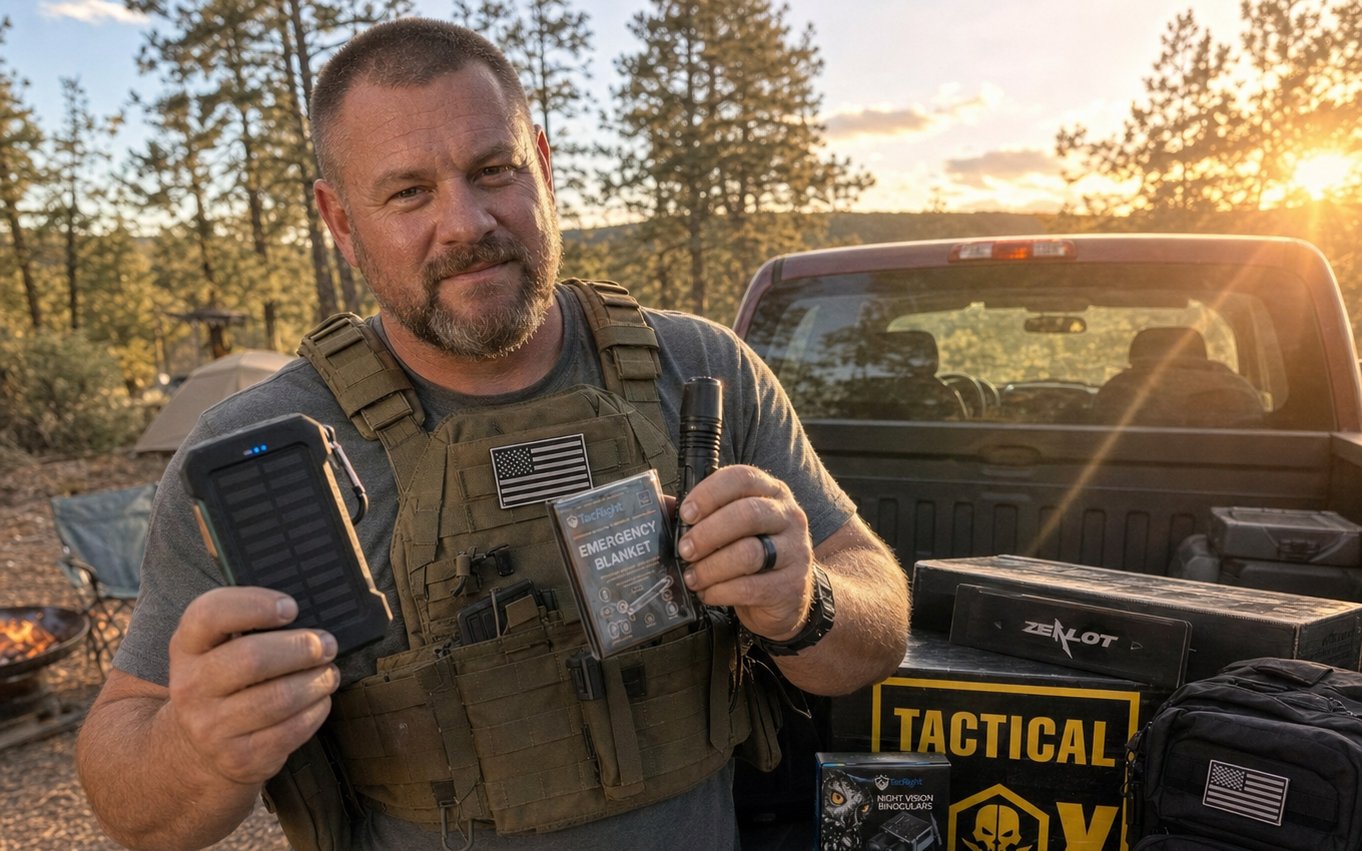
Every month, TacticalBox members get hand-picked tactical, survival, and outdoor gear, sourced ourselves from makers all over the country and curated to be some of the best equipment on the market, worth $150 or more per box on the Standard plan. Subscribe once and the right gear keeps showing up before you need it, backed by a money-back guarantee. Cancel, pause, or skip anytime.
Get Your TacticalBoxThis content is for informational and educational purposes only and is not a substitute for formal wilderness survival or medical training. Hypothermia is a medical emergency: if you see the warning signs, seek medical attention as soon as possible, and a temperature below 95°F confirms it. Fire restrictions vary by land manager and by season, and building a fire where it is prohibited can start a wildfire, so check current conditions for the specific area before you travel. If you cannot safely retrace your route, call 911 as soon as you have any reception, tell a trusted contact your route and expected return time before you leave, and follow the instructions of the land management agency and search and rescue authorities for the area you are in.